Pattern system designer
Create repeating textile patterns in real time at infinite scale
As part of a larger project, I researched, designed, and built a pattern designer for use in textile printing workflows. I also learned to sew rudimentary garments in order to test the output.
Context
Textile manufacturers guess at the needs of the garment design market based on industry trend prescriptions and retailer requests.
Garment designers find textiles at trade shows or in fabric shops, working with what’s available to create garments.
The most successful garment designers are able to design and manufacture their own patterned textiles. In my opinion, more of this should exist. Original textile patterns enhance garment designs by adding aesthetic cohesion and allowing designers to create unique garments.
Problem
One barrier that prevents garment designers from creating their own patterned textiles is lack of tooling. Illustrator is okay for creating patterned textiles, but most garment designers do not have the workflow to be successful.
Solution
The Pattern System Designer allows garment designers to quickly create patterns for roll-to-roll printing on existing textiles.


User experience
The user can
- Construct shapes using vertices and curves
- Manipulate the shapes with a variety of transformations
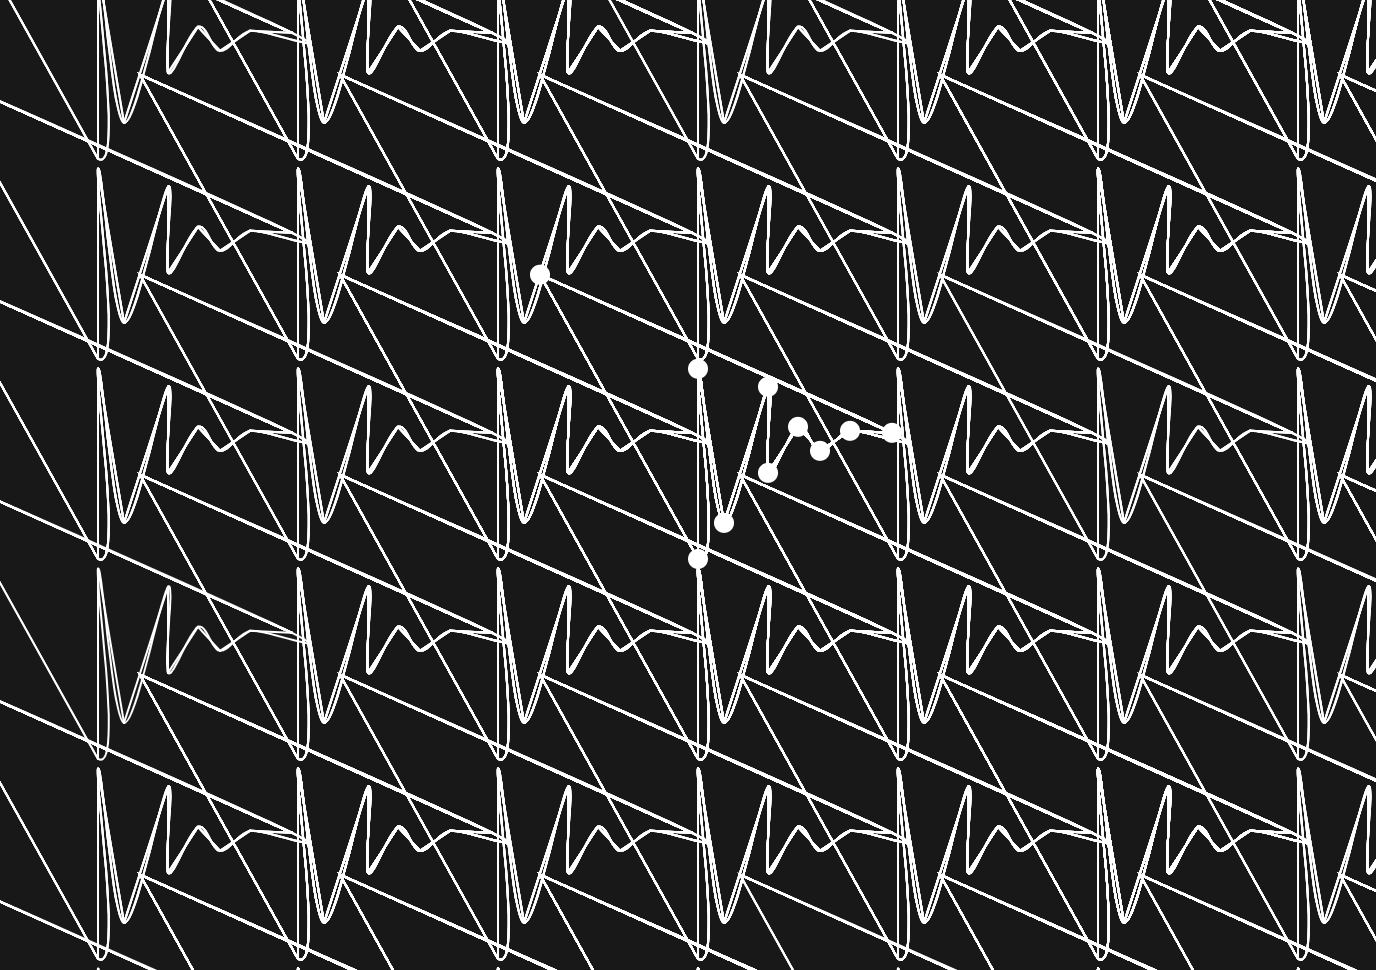
- Instantly tile a shape into a pattern, edit the shape and transformations, and re-tile in real time
- Export their pattern at any resolution for printing on textiles

Designing stateful toggles
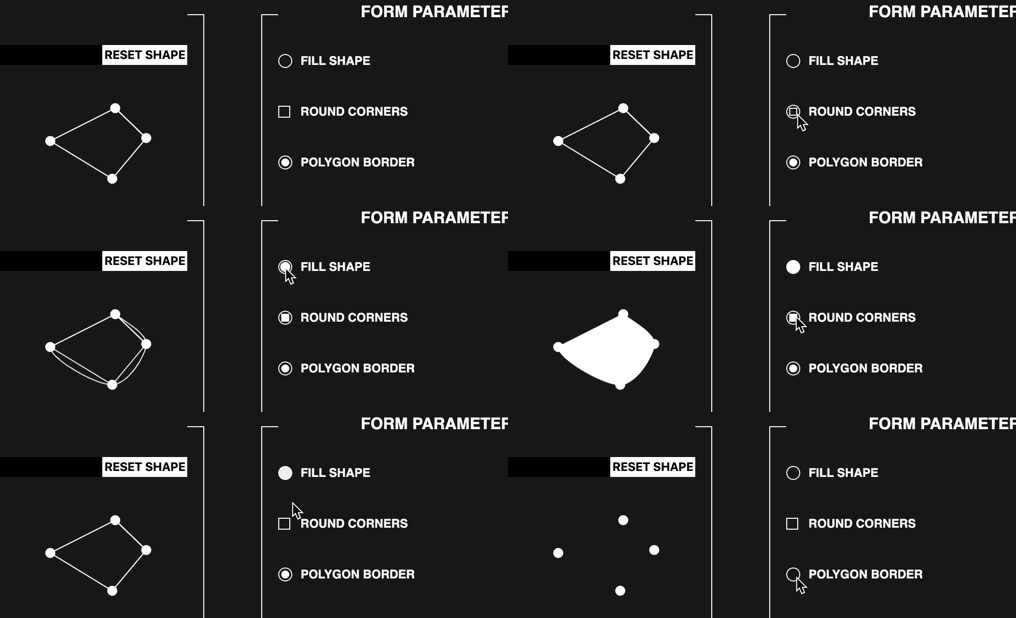
Buttons are bread and butter UI work. In the system designer, buttons toggle transformations and shape styles. Initially I designed the buttons to act as regular toggles, but after watching two users really struggle with them during ad-hoc testing, I redesigned them.
Good buttons look like what they do, with feedforward and feedback, and their state is redundantly clear.
Each button always reflects the state of the shape as-is. If the shape has borders enabled, the toggle will draw borders, and the same applies to fill, stroke weight, and shape transformations.

On hover, the button provides feedforward by previewing the next state, and as the state change is made, the feedforward cycles to the next state.
Implementation
Natural selection
A user selects a vertice to edit their shape. How does p5.js know which point they are selecting? This is tolerance expressed as a radius. What if they have multiple vertices within that radius? What if they have A LOT of vertices within the radius?
15px feels like a good radius and the user selects the point closest to the cursor origin if there are multiple points. However, some users do not feel this is a good r, and will click next to a point and then say “oh, I wish I could select points”, so the 15px radius expands if there are no other points within a larger second radius. This is friendly.
However, on shapes containing many vertices, the selection check takes quite a while—multiple ms—because p5.js is comparing the distance between the cursor origin and every point in the array. This very slight lag will need to be improved to keep the UX buttery smooth.

What makes a line?
The user can drag to draw a line. While they are dragging, sometimes a vertice will appear, and then another, and another, until they have drawn a line. Success!
The question is: where and when should these vertices appear? If you are drawing a flower, you want them to appear very often, every few pixels at the most, and you want them to appear exactly where you are drawing. If you are drawing a square, you only want them to appear at the corners, and you want them to appear so they make a good square—not necessarily where you are drawing exactly.
This problem is called “line beautification” and it’s something of a doozy, although not unsolvable. There is a lot of literature written about it, mostly for application in processing handwriting and drawing nice curves.
My first solution to this was to allow the user to manually modulate the interval on which vertices are placed, and to place them exactly at the cursor origin once that interval is reached. The problem with this approach is that you can’t draw corners unless you get lucky.
My second solution was to map the placement interval to the cursor speed, allowing you to slow down when you want to place many points, and speed up when you want to place a few points. This is better, but it creates way too many points, which ruins the Catmull-Rom splination that I use to make curvy shapes.
To solve the too-many-points problem, I’ll “beautify” and clean up points that have been placed but do not affect the line significantly. This is WIP.